Here is a guide on how I painted the Chronomatic Cogs from the Malign Sorcery box set.
Step 1.
After priming the model back I applied Astrogranite and washed it with Agrax Earthshade. A drybrush of Dawnstone, followed by a lighter highlight of Administratum Grey to finish the base.


Step 2.
I painted the model itself in two parts to be able to reach all the surfaces and planned out the colour selection for each cog beforehand.
I started with two coats of Leadbelcher, followed by two more coats of Ironbearker and a careful wash of Nuln Oil. I applied 3 careful coats of Ironbreaker and a highlight of Runefang Steel.
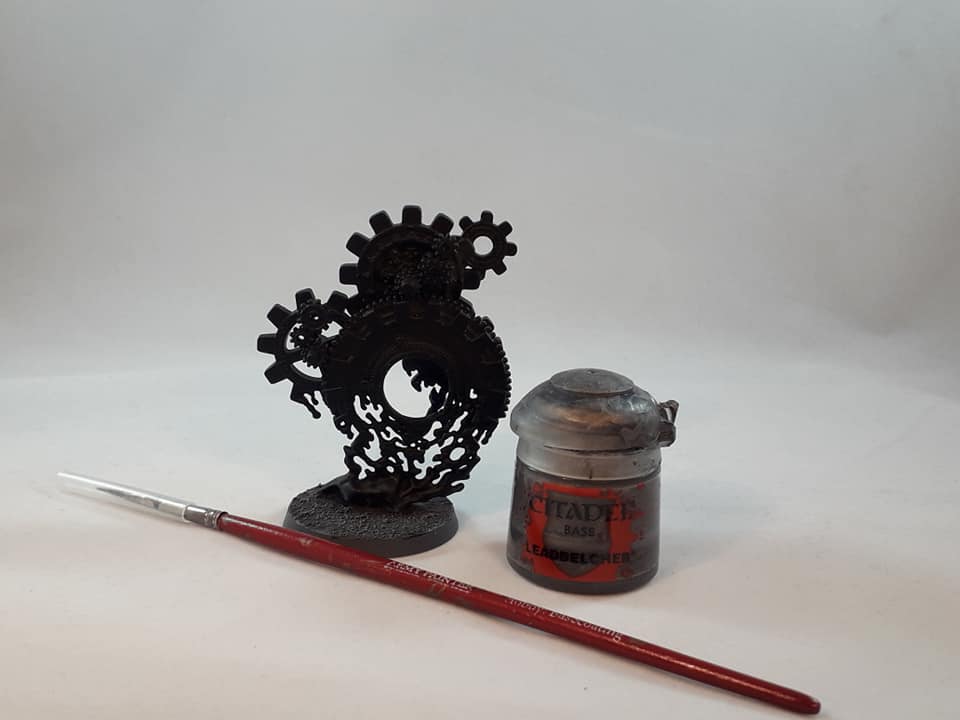


Step 3.
For the second colour I started with 3 coats of Warplock Bronze and 3 coats of Brass Scorpion, then a wash of Nuln Oil and then two more coats of Brass Scorpion, a highlight of Runelord Brass was applied last.


Step 4.
Two coats Screaming Bell was applied and followed with a wash of Agrax Earthshade, then two more coats of Screaming Bell. A highlight of Hashnut Copper was finally applied.


For the smoke I started with several coats of Celestra Grey, followed by more coats of Ulthuan Grey. Several washs of Bloodletter was applied, a highlight of Evil Sunz Scarlet was then applied and a extreme highlight of Troll Slayer Orange and finally Carroburgh Crimson was applied in the recesses to create some depth.
Note that I applied the red colour scheme a bit on the cogs themselves to make it look like they are coming out of the smoke, you do not have to it however.


Here is a picture of the final result :

Step 6.
For all the runes and twin tailed comets I used contrasting colours, gold around gunmetal and vice versa.
For the gold Retributor Gold was applied with two coats, followed with two coats Liberator Gold, a very careful wash of Reikland Fleshshade (Gloss), then two careful coats of Liberator Gold and a highlight of Auric Armour Gold. This was used on the skulls as well.
The center of the comet was painted with Stormhost Silver and followed with Spiritstone Red to get a red glow.
The gunmetal was simply carefully applying Stormhost Silver on the runes.
I picked some runes to be in Screaming Bell and highlighted them with Skullcrusher Brass.
Note that witch colour goes where is up to you and I'll recommend using a brush with a fine tip.
You can drybrush the runes instead of painting it by hand.
I used this opportunity to pick out all the rivets with either gunmetal or brass colours.


Step 7.
I picked some skulls from the Citadel Skulls box and started with two coats of Zandri Dust.
Two coats of Ushabti Bone was then applied, followed with a careful wash of Agrax Earthshade and followed by two careful coats of Ushabti Bone and finally a highlight of Screaming Skull was applied.


Here are some pictures of the finished model :


Remember that experience is the only thing that can not be taught.


