Saturday, August 25, 2018

How I Painted the Soul Stone.

Greetings and salutations fellow hobbyist!

Here is a guide how I painted the Soul Stone from the Shattered Dominion Boxed Set.

Step 1.

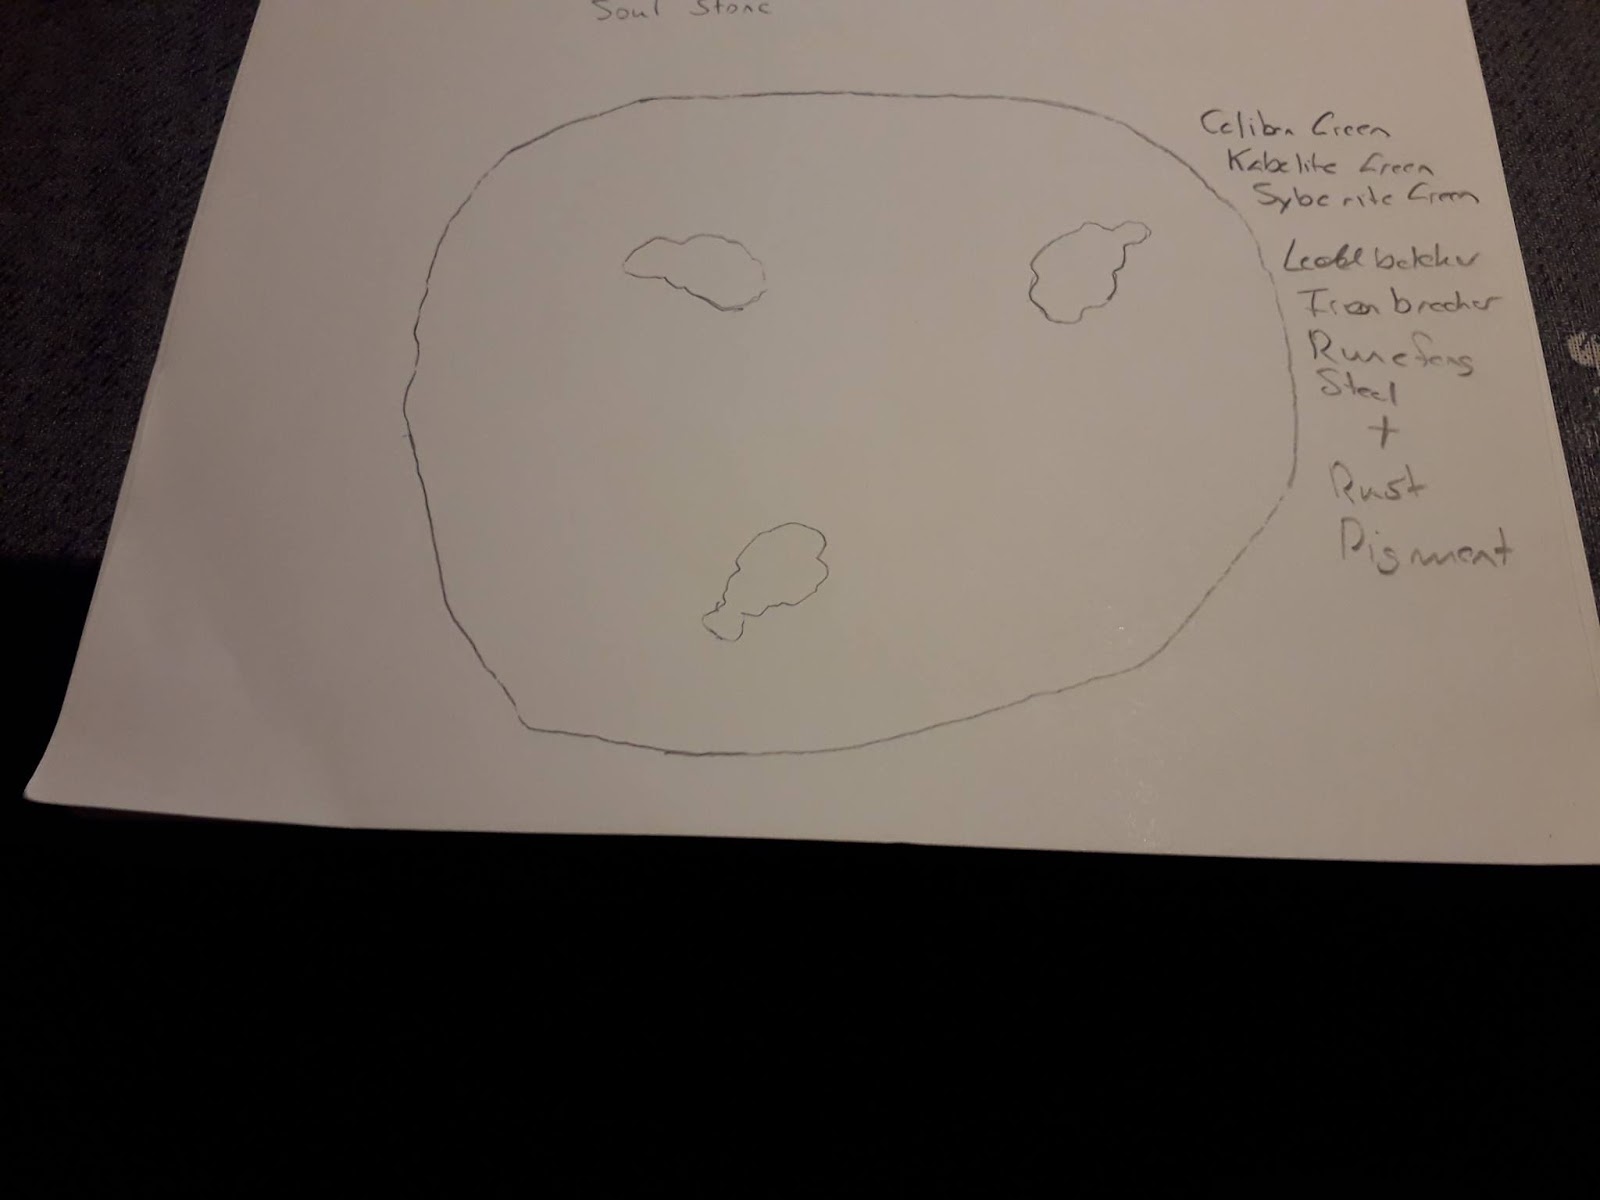
After drawing the diagram of the Soul Stone on a piece of paper to get some idea on what I want to do, I glued the model to a MDF base, added some mushrooms from Kromlech and based it with fine sand.

After priming it with Corax White, I used Ceremite White to get a even white colour and then applied a generous amount of Mighthaunt Gloom, just remember to add several coats. Afterwards I applied a very light dry brush of Ulthuan Grey


Step 2.
 I painted the chains holding the Soul Stone in place next. Starting with Leadbelcher, then 2 coats of Ironbreaker followed with a careful wash of Nuln Oil so there wont be any dripping on the base itself. You can put a paper towel under the model if you are worried about this. After the Nuln Oil, I applied Ironbreaker again, while being careful of the recesses and then a final highlight with Runefang Steel.


Step 3.

When painting the mushroom I started with Zandri Dust for the stipe, followed with Ushabti Bone, a little wash of Agrax Earthshade to get some shade. I applied 2 thin coats of Ushabti Bone after the wash and then a very selected highligh with Screaming Skull on the raised areas.

I picked 5 different colour for each mushroom to get some variation. I applied each base colour, followed with a lighter layer and finally a highlight with the brightest layer colour.

The maggots where painted with Ceramite White, followed by a wash of Nighthaunt Gloom and then 2 coats of Screaming Skull while being careful of the recesses.


Step 4.

Now on to the Soul Stone itself. I started with Incubi Darkness as a base colour of the stone. I used Kabalite Green to highlight the raised area's of the faces and then a further highlight of Sybarite Green.

For the stone that the chains are secured to, I started with Mechanicus Standard Grey and 2 coats of Dawnstone and finally a careful light drybrush of Administratum Grey. I finally used Agrax Earthshade in the recesses while being careful of the other areas.


Step 5.

I picked some items from the Barbed Bracken and Citadel Skulls boxes.

I wanted the Barbed Bracken to compliment the base itself, so I used Thousand Sons Blue as a base colour, followed with Ahriman Blue and a final highlight of Hoeth Blue. You can apply some Drakenhof Nightshade if you want to add additional shade.

For the skulls I used the go-to method with using Zandri Dust as a base colour, followed with Ushabti Bone, a careful wash to Agrax Earthshade. When the shade has dried, I applied Ushabti Bone on the raised areas and finally applying a highlight of Screaming Skull.

After coating it with a varnish, I glued some yellow grass with PVA glue to make the base a bit more busy.


Step 6.

Here are some pictures of the finished models.


Remember that experience is the only thing that can not be taught.

Friday, August 17, 2018

How I painted the Iconoclast Axe

Greetings and salutations fellow hobbyist!

Here is a guide how I painted the Iconoclast Axe from the Shattered Dominion Boxed Set.

Step 1.

I started with drawing the base and model on a piece of paper to get some idea on what I want to do.

I started by using PVA glue to attach the model to the base and covered it with Liquid Green Stuff.
When the green stuff has dryed, I applied Lustrian Undergrowth and then highlighted with Warpstone Glow, followed with light highlight of Moot Green. The sides of the base where painted with Caliban Green.


Step 2.

I started with the axe head by applying a coat of Leadbelcher, followed by 2 coats of Ironbreaker and a wash of Nuln Oil. When the Nuln Oil had dryed, I went over the raised areas with Ironbreaker and a fine highlight of Runefang Steel. There is also a metal piece on the end of the axe handle that was painted in the same way as the axe head.


Step 3.

There are 4 Khorne symbols on the axe head, two on either side. I started with a coat of Screaming Bell with a fine tiped brush that I used for this step. Two coats Brass Scorpion where applied and then several coats of Skullcrusher Brass, do remember to give this colour a very good shake as it tends to separate very easily.


Step 4.

I painted the tassel at the end of the handle with Averland Sunset, washed it with Seraphim Sepia and then carefully applied Averland Sunset over the raised areas. You can paint this any way you choose.
I'll recommend making a drawing of the axe (it can be crude, but still work) and paint that so you will get some idea on how the colours will go together, it will save you the trouble of painting over the tassel if you are unhappy with it.


Step 5.

I worked on the hilt and shaft next. The leather was coated with Rhinox Hide, two coats of Doombull Brown, a sparse wash of Agrax Earthshade, then a careful coats of Rhinox Hide and a little edge highlight of Balor Brown.

The wooden hilt was coated with Dryad Bark, a coat of Gothor Brown then a highlight of Baneblade Brown on the side the model is facing. You can, if you choose to apply a wash of Agrax Earthsade if you wish.


Step 6.

Next is the head itself, the star of the show.

I gave it 3 coats of Mechanicus Standard Gray, followed by 2-3 coats of Dawnstone and then a light drybrust of Administratum Gray on the edges and raised areas, like the nose and cheek bones.
To give it a bit of weathered appearance I mixes Agrax Earthshade with some Lahmian Medium (50/50 mix) and with a fine tipped brush applied two coats while being very careful not to get it any where out side of the cracks.

For the eyes I very, very carefully applied two thin coats of Ceremite White and then 3 coats of Screaming Skull mixed with a little Lahmian Medium to give it a more marble look.


Step 7.

After applying varnish to the model I picked Swamp and Summer Undergrowth from The Army Painter, to have some moss there I used Meadow Blend Flock from Gale Force 9.

Below are pictures of the finished model.


Remember that experience is the only thing that can not be taught.