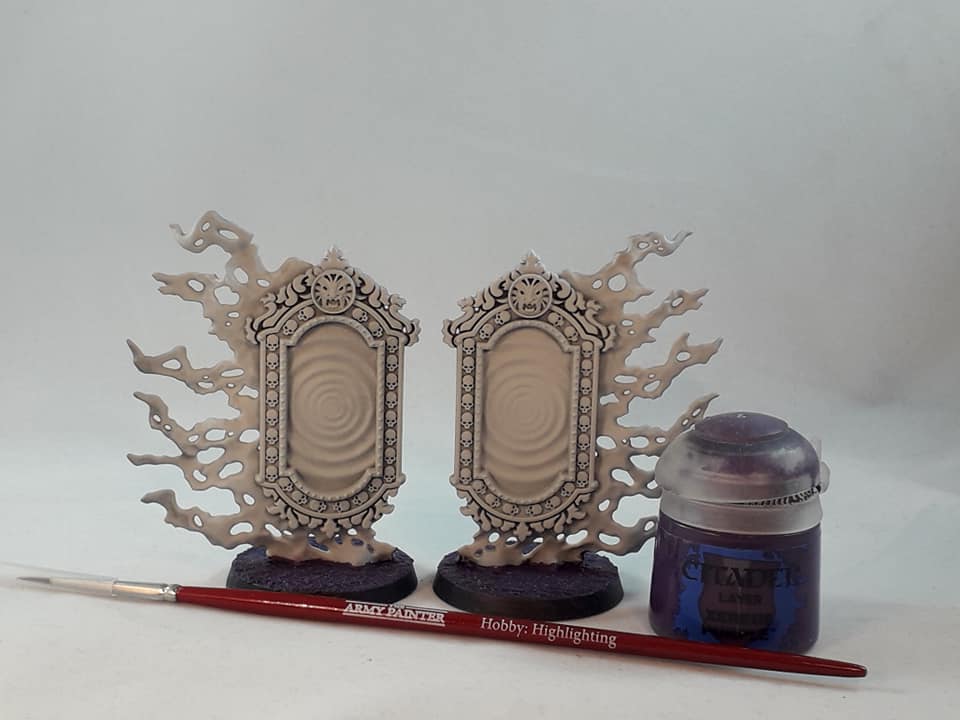
Here is a guide how I painted the Umbral Spellportal from the Malign Sorcery.
Step 1.
I started with priming the model white as I used quite a bit of yellow for it.
I applied Armageddon Dust to the base, painting it black as to darken it, then applying 2 coats of Naggaroth Night, followed by a highlight of Xereus Purple and finally a very light highlight of Genestealer Purple.


Step 2.
For the mirror itself I went for 2 coats of Naggaroth Night and followed with 3 coats of Xereus Purple.
For the ripples in the mirror I went for another purple for contrast.
I carefully painted Screamer Pink on the raised area, followed by Pink Horror little higher area of the ripples while leaving a little Screamer Pink showing below.
I very carefully applied a little Emperor's Children with a brush with a very fine tip on the most raised area of the ripples.


Step 3.
For the gold frame of the mirror I applied 2 coats of Retributor Gold, followed with 2 coats of Liberator Gold, then a careful wash of Reikland Fleshshade (Gloss variant), then reapplied Liberator Gold carefully in the raised areas. A final highlight of Auric Armour Gold was applied to the raised area, I focused this on the top of the frame as light would be shining on that part.


Step 4.
There are some nobs on the mirror that I painted with Stormhost Silver and coated over it with Soulstone Blue.


Step 5.
For the smoke coming from the mirror I went for yellow.
I started with 2 coats of Celestra Grey mixed with Lahmian Medium (50/50), followed with 3 coats of Ulthuan Grey mixed with Lahmian Medium (50/50). Then I applied several coats of Lamenter's Yellow, finally it was highlighted with Yriel Yellow and then a little highlight with Flash Gitz Yellow on the most raised areas.


Step 6.
I decided for some skulls from the Citadel Skulls box.
I started with priming them black and painted two coats of Zandri Dust, followed with 3 coats of Ushabti Bone. I used Argax Earthshade to darken the skulls, used 2 coats of Ushabti Bone again to bring the colour again, while leaving the recesses darker, a final highlight of Screaming Skull was applied on the raised areas.


There is a picture of the finished model. I put some dark flock on the models to contrast with all the bright colours.

Remember that experience is the only thing that can not be taught.