Here is a guide on how I painted the Quicksilver Swords from the Malign Sorcery boxed set.
Step 1.
After priming the model black I used a texture tool to apply Blackfire Earth to the base and give it a generous wash of Agrax Earthshade. After it had dried I applied a light drybrush of Tau Light Ochre , followed with Zamesi Desert.


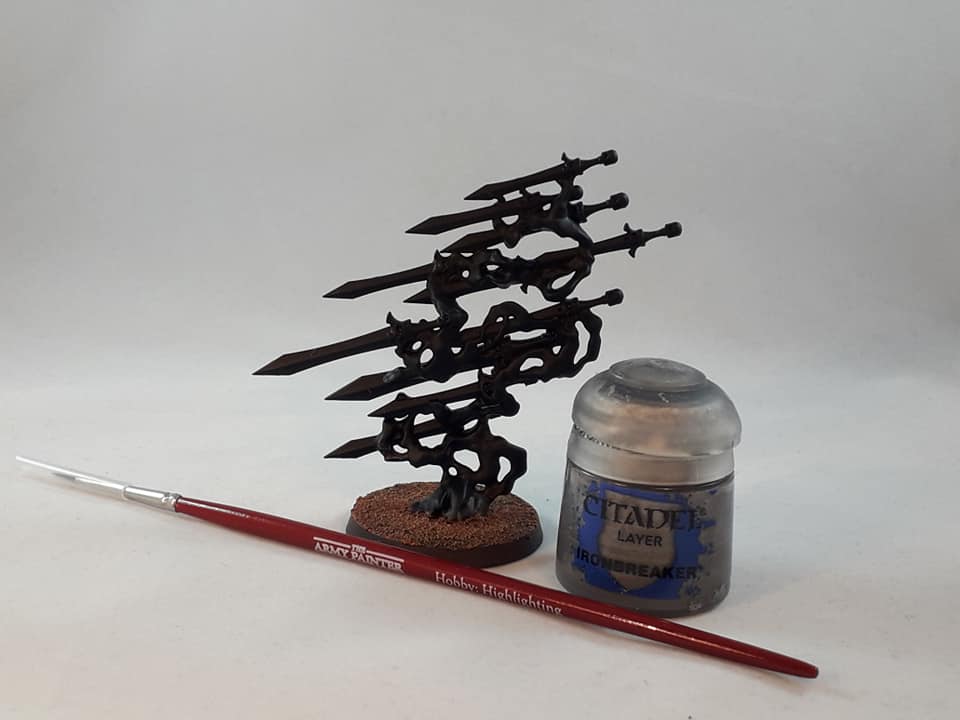
I undercoated the blades with Leadbelcher, two,three coats should do the trick. After that I applied three coats of Ironbreaker and washed over it with Nuln Oil, after the Nuln Oil had dried I carefully re-applied Ironbreaker while leaving out the space next to the hilt to create some depth. For the highlight I used Runefang Steel. I chose to apply the highlight on top of the blades as the light source is coming from above and I just held the model so the top was facing me when I was picking out the places where the highlight should go.


Step 3.
I painted the hilts with Rhinox Hide as a base coat, followed by Doombull Brown and a careful wash of Druchii Voilet. After the shade had dried I reapplied Doombull Brown on the raised areas and finally a highlight with Skrag Brown.


Step 4.
The pummel and hilt was coated with Retributor Gold and followed with two coats of Liberator Gold, I washed the gold with Reikland Fleshshade (Gloss). When the shade had dried I reapplied Liberator Gold and highlighted it with Auric Armour Gold.


Step 5.
For the smoke surrounding the swords I started with three coats of Celestra Grey and followed it with four coats of Ulthuan mixed with Lahmian Medium. I turned the modle on its side while applying a mixture of Guilliman Blue and Lahmian Medium (50/50 mix), this will take several coats on each side to get proper coverage.
For the "eyes" I applied Stormhost Silver and washed over it Spiritstone Red in the eye socket, just to make it look a bit more menacing.


Step 6.
As always I added some skulls to the base and added two coats of Zandri Dust, followed it with three coats of Ushabti Bone and then a wash of Agrax Earthshade. When the wash had dried I reapplied the Ushabti Bone while be careful of the recesses and then highlighted with Screaming Skull.


Step 7.
Here are pictures of the finished model.


Remember that experience is the only thing that can not be taught.
P.S.
This will be the last Endless Spell for a while and the method I write these posts will change with the next blog, there will be more pictures of sections of the model related to the current step and from now on there will be two weeks between blogs.
No comments:
Post a Comment