Greetings and salutations fellow hobbyist!
As my first blog I decided to paint up the Realmvault Key from the Shattered Dominion Objectives box.
Step 1.
I started by drawing up the base I made for the model and the space the model itself will take on the base to get the idea out of my brain and into reality so I can get an overhead view of it without messing with the model. I wrote down the colours I was going to use there, lest I forget.

If you are not using a base for this model you can skip to step 6, if not....
I applied my trusty carpenters glue with a well used paint brush to the base and used a tea spoon over a deep plate so the access grit does not get all over my work space.

When the grit has been applied to the base I personally use a knife and sculpting tool to remove any grit that has gotten on the model itself.

You can choose to undercoat the base either black or white, but I will be using black here as I want the base to be darker. If you choose to have the base white, you can spray the entire piece white and paint over the model with Abaddon Black. You might need to paint over the grit with either black or white, depending on the colour you chose to to make it uniform in colour. I also opted to keep the Realmvault in two pieces white painting it


Step 5.
First step is lightly drybrushing the base with Deamonette Hide followed by a Druchii Violet, when the shade has dried you can apply another light drybrush of Deamonette Hide follow by a lighter drybrush of Skink Blue.


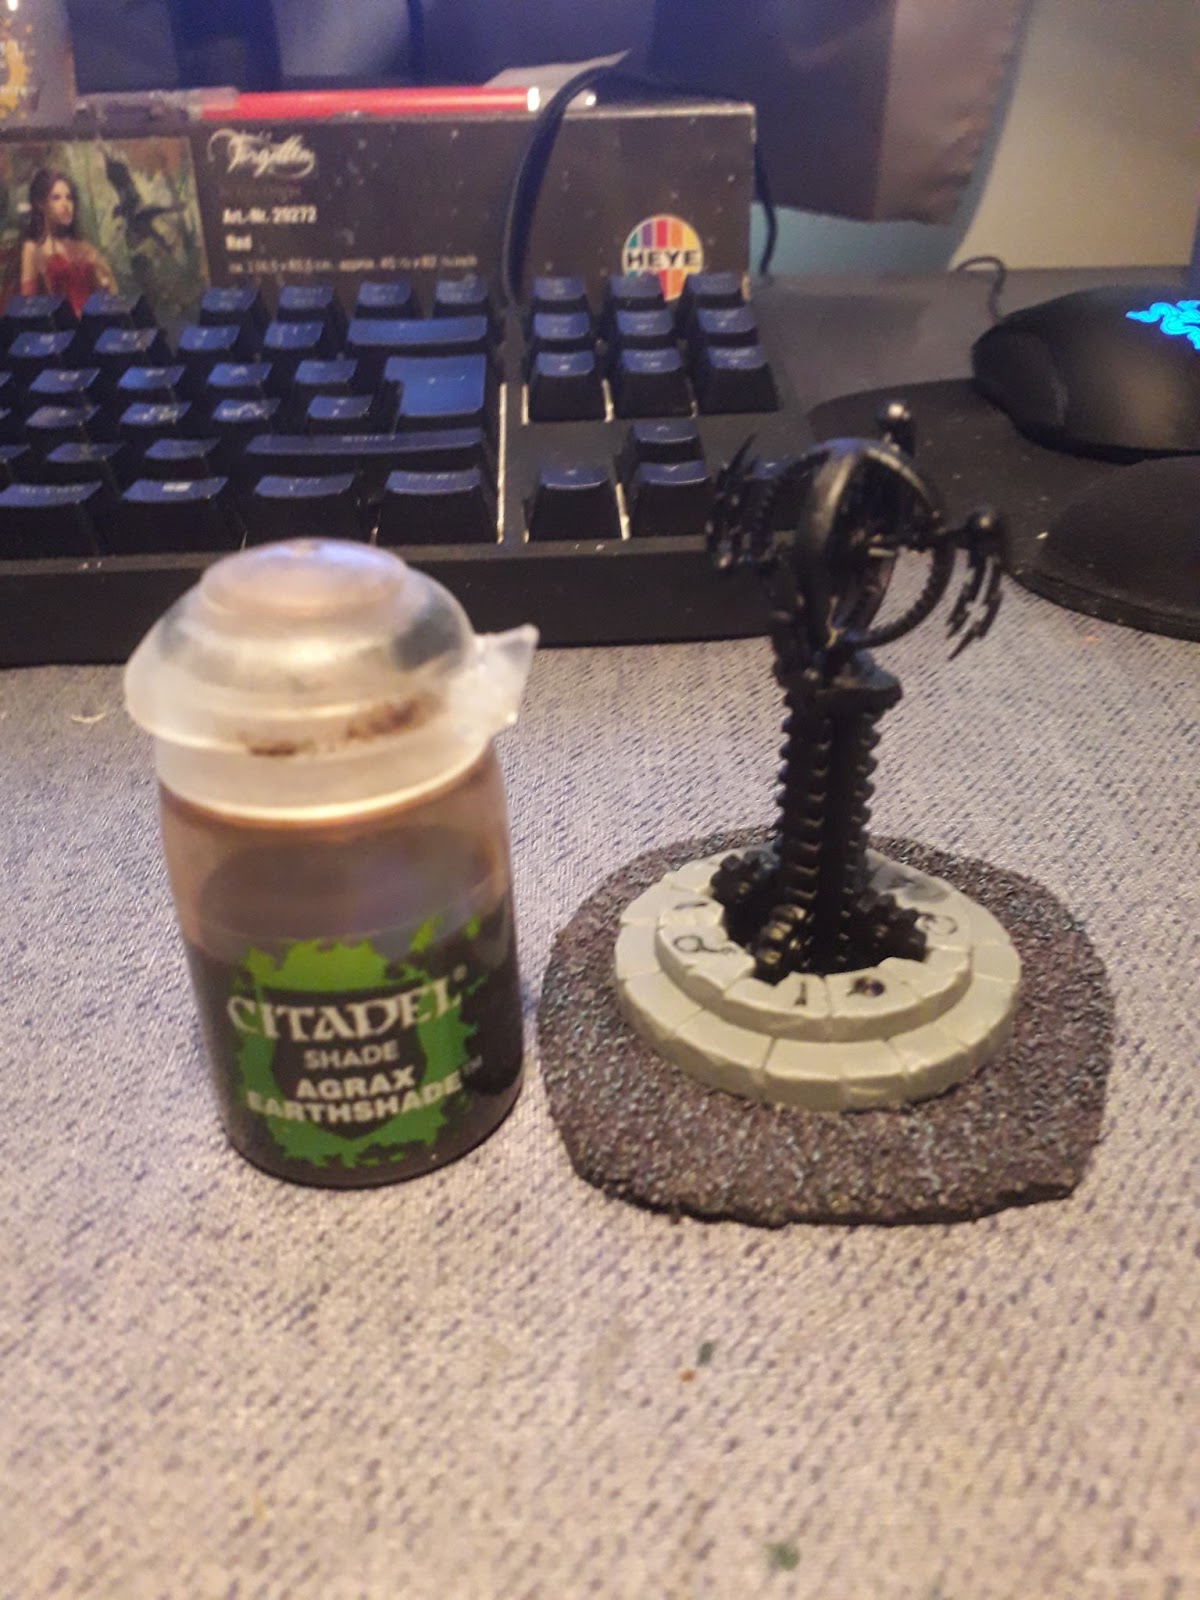
Standard Mechanicus Gray is applies to the stone work that makes of the base of the Realmvault Key followed by Dawnstone and finally a light drybrush of Administratum Gray. I used Agrax Earthshade in the cracks in the stone to give it an older look, just remember to use a bush with a fine tip so it won't go all over the stone work, if that happened you can apply some Dawnstone to tidy it up.


Step 7.
For this step I highly recommend using a Citadel Palette Pad. I mixed Celestra Gray and Lamian Medium roughly 50/50 mix to get a nice flow of the paint and applied in the runes with a very fine brush. There are several colours you can choose for the runes but I chose blue for this one.
After 2-3 coats of the glaze I applied a single coat of 'Ard Coat to make it a little bit more shiny.
Note : When you coat this model after painting it, you might want to re-apply the 'Ard Coat to retain the shine.


Step 8.
For the cogs I used Screaming Bell, followed by Brass Scorpion and highlighted by Skullcrusher Brass. You can choose between Nuln Oil, Agrax Earthshade and Reikland Fleshshade depening on if you want it with a oily texture (Nuln), dark (Agrax) or lighter (Reikland). I went for Reikland Fleshshade, but the choice is yours.


Step 9.
This is the easiest step of all, just a simple application of gun metal. Start with Leadbelcher, then Ironbreaker, wash of Nuln Oli, re-apply Iron breaker and finally a highlight of Runefang Silver.


Step 10.
For the item in the middle I went for a base coat of Deamonette Hide, with a wash of Druchii Violet and ra-applied Deamonette Hide while being careful of not painting over the recesses. I also used Screamer Pink to highlight the spikes for added effect. You can paint this any way you want, but I went for similar colour as the base as this is in the Realm of Shadow.


Step 11.
The final step is to add gold to apparatus on the top. I used Balthasar Gold, followed by Gehenna's Gold, a wash of Reikland Fleshshade, Gehenna's Gold again to bring out the gold colour a bit, then a final highligh of Auric Armour Gold. You can also drybrush Sigmarite to highlight instead of the Auric Armour Gold.


Step 12.
This is the final out come of the Realmvault Key. Remember that experience is the only thing that can not be taught.

No comments:
Post a Comment