Thursday, July 26, 2018

How I Painted the Realm's Ransom.


Greetings and salutations fellow hobbyist!

Here is a guide on how I painted the Realm's Ransom from the Shattered Dominion Objective Set.

Step 1.
First I drew up the base with the space the chest occupies and used a red colour to mark where the lava would be.
Next I applied Liquid Green Stuff with a texture tool and some sculpting tool to cover up the texture of the MDF, the rest of the base was covered using two coats of Astrogranite for a rocky look.


Step 2.

I coated the entire model and base with Chaos Black, followed by a heavy drybrush of Mechanicus Standard Gray, then a light highlight of Dawnstone and finally a lighter drybrush of Administratum Gray. If you find the rock is not gray enough when applying the drybrush just apply a bit more pressure to the brush until you are happy with it.


Step 3.

There is not "right" way to make a lava base, but this is how I chose to do it.

First I applied several thin coats of Mephiston Red, followed by more thin coats of Wazdakka Red while leaving little of the previous colour around the edges of the lava stream. Same thing was done with Evil Sunz Scarlet and Fire Dragon Orange. Any selection of red and orange colours can work for this, I'll recommend do a couple of test bases if you are unsure what colours you want to use for your lava base.


Step 4.

I went for Kantor Blue for the wooden panels of the chest, then a recess shade with Drakenhof Nightshade, if you think you added too much shade or if  it went somewhere you do not want it, just tidy up with Kantor Blue.
Step 5.

For the iron straps and chalice I used Leadbealcher followed by Ironbreaker and carefully washed over it with Nuln Oil. When the shade is dry, carefully re-apply Ironbreaker around all the rivets (if you want) and give it a highlight of Runefang Steel. I choose to paint all the rivets with Brass Scorpion to make them stand out, but you can just leave them with the Ironbreaker on.


Step 6.

I painted all the gold coins with Balthasar Gold, followed by a 50/50 mixture of Lahmian Medium and Gehenna's Gold to give it a smoother finish, then I washed over it Reikland Fleshshade Gloss to give a bit more shine, finally the mix of Gehenna's Gold and Lahmian Medium was applied.
You can give it a highlight of Auric Armour Gold if you want.

Step 7.

The small bottle in the gold pile in front of the chest was given a base coat of Caliban Green, then two coats of Warpstone Glow, a sparse wash of Biel-Tan Green, then carefully painted over with Warpstone Glow again and finished with a little highlight of Moot Green.
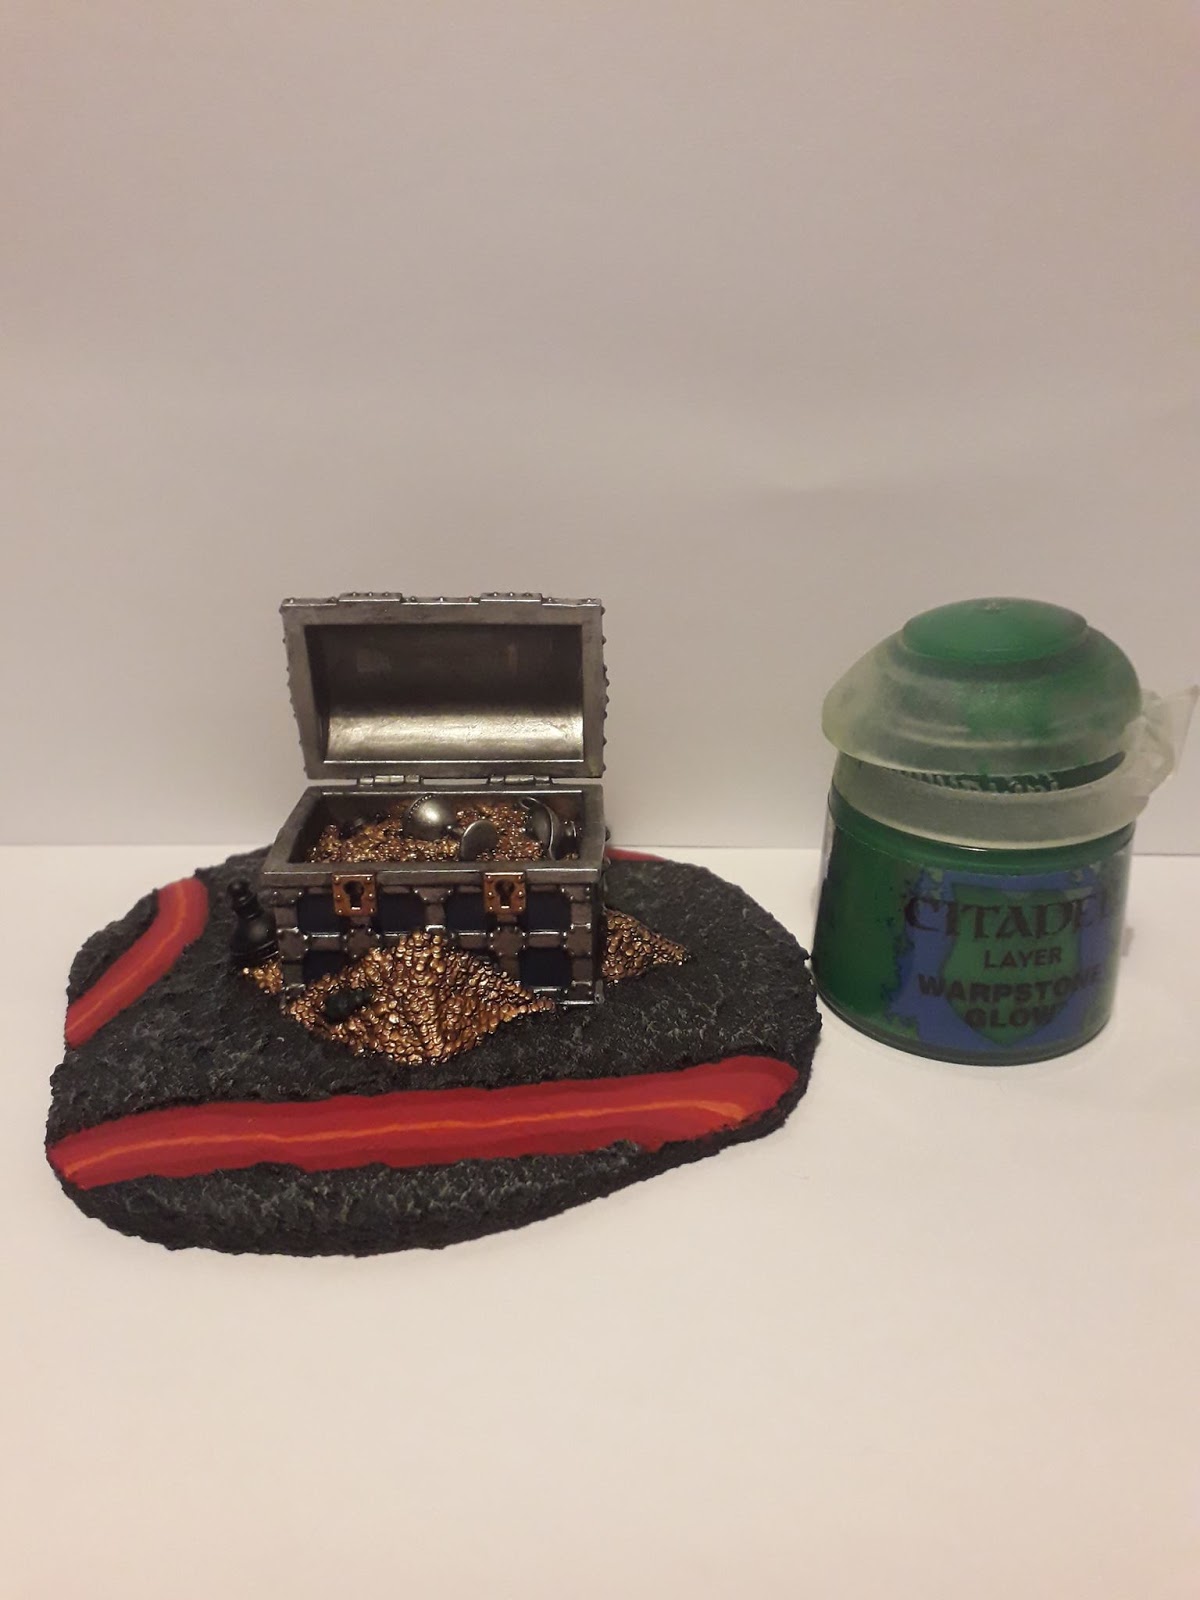


Step 8.

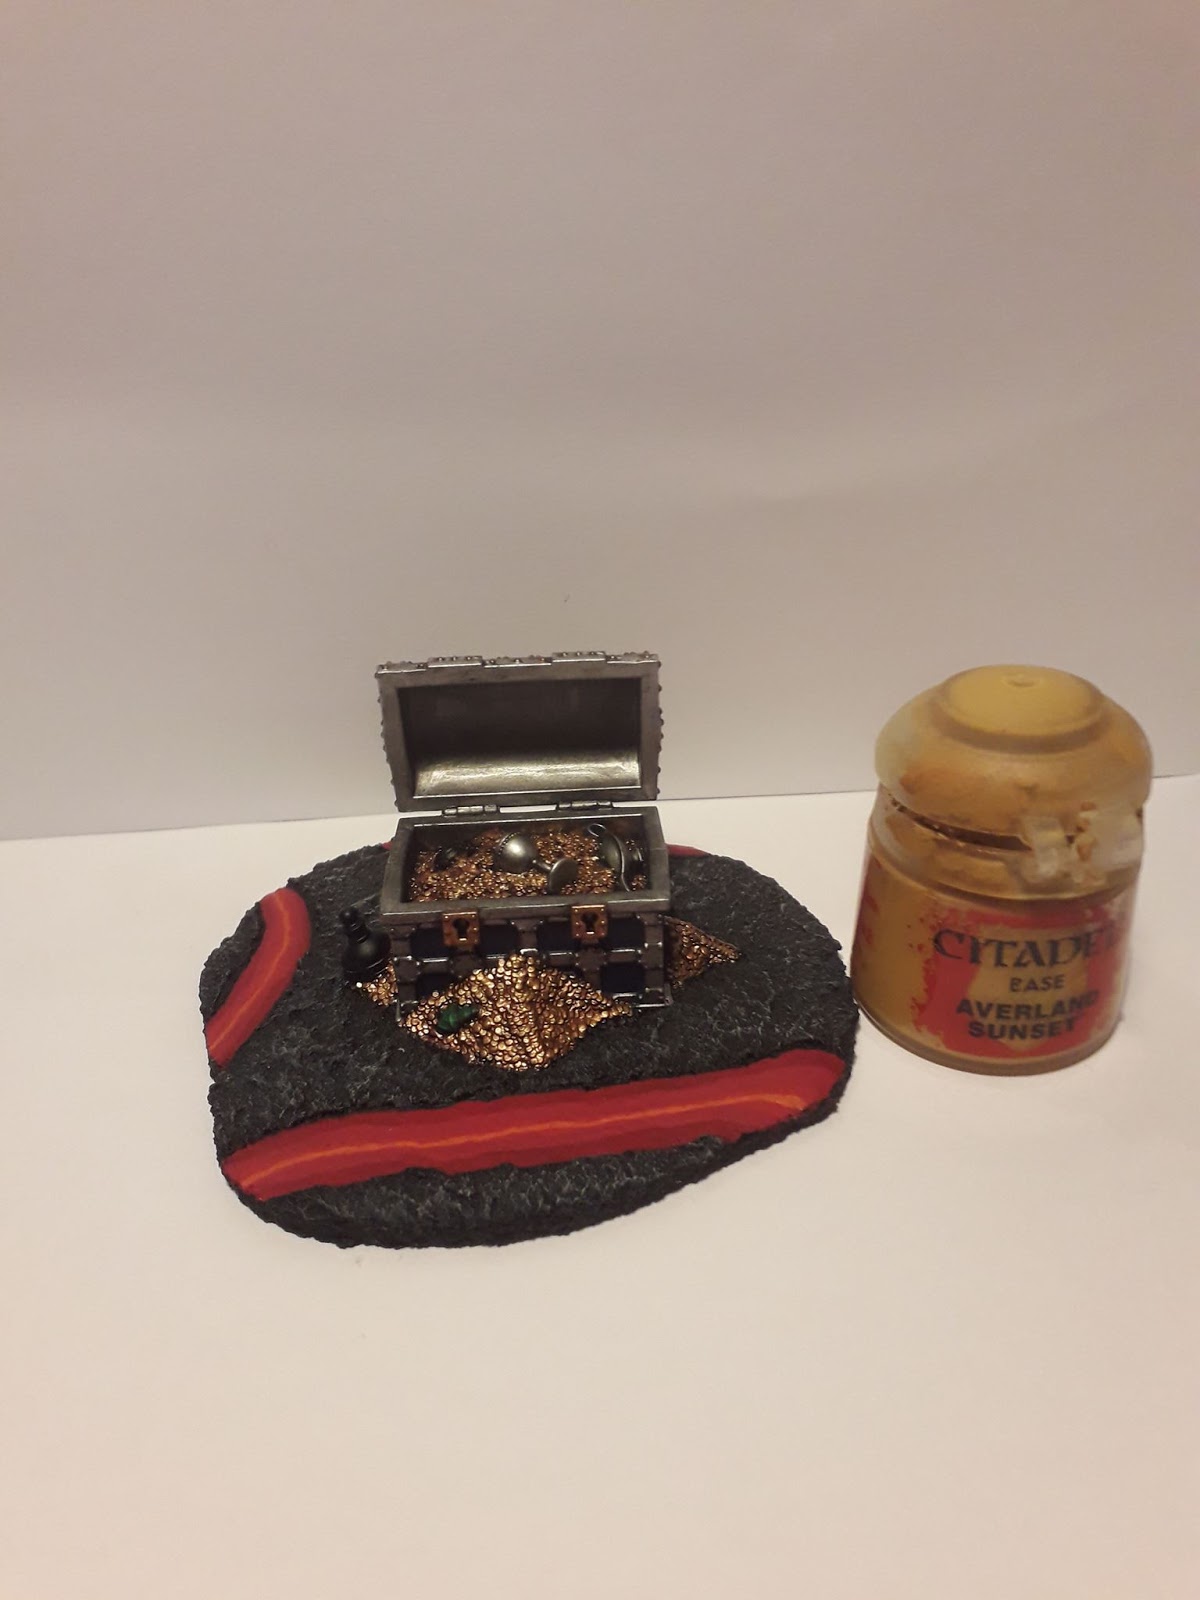
The large bottle on the left hand side was given a base coat of Averland Sunset, then two coats of Yriel Yellow followed by a wash of Seraphim Sepia, then as with in step 7, Yriel Yellow was carefully applied while leaving the recesses and finally a highlight of Flashgitz Yellow.
There is decorative band running around the bottle, I painted this with Ironbreaker with a very fine brush, you can however skip this part and leave it yellow.


Step 9.

There are two bottle left to paint, one is inside the chest and the other is behind it. Given it reminded me of love potions, so I decided to go for pink.
I started with a base of Screamer Pink, followed with two thin coats of Pink Horror, carefully washed over it with Druchii Violet, then carefully re-applied Pink Horror and finally a highlight of Emperor's Children. I also used a little Dechala Liac edge paint as an extreme highlight.

Do note that you can paint the flasks and potions any way you want.


Step 10.

I took Kantor Blue, Brass Scorpion and Ironbreak to fix some of the paint work just to make sure this will look good.

 Step 11.

Here is how the Realm's Ransom looks like.

Remember that experience is the only thing that can not be taught.


Friday, July 20, 2018

How I Painted the Hollowed Tomb

Greetings and salutations fellow hobbyist!

Here is a simple guide on how to make the Hollowed Tomb from the Shattered Dominion objective set look good!

Step 1.

If you do not have a base under the Hallowed Tomb you can skip to step 5.
I started with drawing out the base and the tomb itself on a piece of paper so I can get a rough idea what I want to do and wrote some colours down I might use as well for future reference.

Step 2.

I used Fine Basing Grit from Gale Force 9 as a foundation for everything that is to come. In order to apply the grit to the base carefully apply carpenters glue or PVA glue then add the grit, you might need to add additional grit to the base if there are any gaps.

When the glue was dry I used my sculpting tools and knife to remove any grit from the model itself.
If you choose to have the sarcophagi white but the base black, you can undercoat the whole thing with a white spray and paint the grit black by hand. I coated my sarcophagi black and applied two coats of Abaddon Black to make sure the base was properly coated with black.


Step 4.
I painted over the all the grit with Deathclaw brown followed with a light drybrush of Tau Light Orche and Balor Brown.


Step 5.

I painted everything with Mechanicus Standard Gray except the warrior on the lid and the skeletal remains inside, then I painted over the Mechanicus Standard Gray with Dawnstone, followed by a very light drybrush of Administartum Gray on the raised areas. After all that is done I used Agrax Earthshade for the cracks and recesses on the sorcophagi, using a brush with a very fine tip is recommended to keep things tidy. If you applied the shade somewhere you did not want to, just paint over it with Dawnstone.


Step 6.
I decided this warrior was blond when he was slaying his foes, so I started with Averland Sunset followed by Yriel Yellow. You can choose several shades when it comes to darkening the hair, I went for red (Carroburgh Crimson), but Seraphim Sepia and Casandora Yellow are viable too.
I did the mistake of drybrushing the hair with yellow witch all came out in chunks of pigment all over and I had to repaint some the stone work as an result, but I applied some Lamenters Yellow to make it look a bit smoother. Never drybrush with Yriel Yellow. Better play it smart and use Hexos Palesun or apply Yriel Yellow by hand unlike this moron that writing this blog.


Step 7.
For the skin I used the go-to method of painting flesh. Bugman's Glow followed by Cadian Fleshtone, then Reikland Fleshshade either as a complete wash or  just in the recesses. The final highlight was with Kislev Flesh. Do note the skin will look very flat unlike on other models that are actually alive.


Step 8.

Next I painted the skeleton, starting with Zandri Dust, then Ushabti Bone, a generous wash of Agrax Earthshade (just be careful with pooling), then with a fine brush carefully apply Ushabti Bone while being careful of the recesses. I highlighted a little with Screaming skull, but if you want to give more of a bleached look you can cover all the areas facing upwards.


Step 9.

I went for Khorn Red for the leather straps hanging from the belt. Wazdakka Red was used to add a richer red to the leather, followed by a complete wash of Carroburgh Crimson, then Wazdakka Red was used again, save for the recesses and finally a highlight of Evil Sonz Scarlet was applied.


Step 10.

I made the armour gunmetal to make it a bit duller to make the next part stand out more.
First I used Leadbelcher, then Ironbreaker, a generous wash of Nuln Oil was applied with a fine brush, then another layer of Ironbreaker and finally a highlight of Runefang Steel.


Step 11.

The eagle on the chest, bracers, greaves and the hilt of the sword was carefully painted with Balthasar Gold, followed by Gehenna's Gold, a very, very careful wash of Reikland Fleshshade, then some Gehenna's Gold to get it shining again, a highlight of Auric Armour Gold was then added.


Step 12.

The best was painted last with Rhinox Hide, then two coats of Doombull Brown, a careful wash of Druchii Violet, then some Doombull Brown. I added Turskgor Fur last, you can choose to paint over the most raised areas of the belt or just give it a very fine highlight on the top and bottom of the belt.


Step 13.

This is the final appearance of the sarcophagi of our fallen hero.
Remember that experience is the only thing that can not be taught.